USCIS Photo Requirements for Minors: Your 2024-2025 Naturalization Guide
Applying for US citizenship on behalf of a minor involves meticulous attention to detail, and a crucial element is the photo ID. While the basic requirements are the same as for adults, some nuances make the process potentially challenging. This comprehensive guide, updated for 2024-2025, will walk you through every aspect of the USCIS photo requirements for minors undergoing naturalization. We'll provide actionable tips, DIY solutions, and expert advice to create perfect photos that meet all official standards. Learn how AI-powered tools can simplify the process, minimizing stress and maximizing your chances of a successful citizenship journey for your child.
Why Are Photo Requirements So Strict?
The USCIS uses photos for identification and security purposes. Clear, compliant photos help prevent fraud and ensure accurate identification throughout the naturalization process. Strict adherence to the guidelines ensures that the photos are compatible with facial recognition technology and meet international standards. Think of it as ensuring your child's application is easily recognizable and processed efficiently.
Core USCIS Photo Requirements for Minors
Let's delve into the specifics of the requirements for minors. These are non-negotiable, so accuracy is key:
- Photo Size: 2x2 inches (51x51 mm). This is a standard size, but precision is essential.
- Color: Must be in color, not black and white. Color photos provide better detail for identification.
- Background: Plain white or off-white. A simple background prevents distractions and ensures focus on the child's face. See our guide on passport photo background rules.
- Head Position: The child must directly face the camera with a neutral expression. Direct facing ensures accurate facial recognition.
- Resolution: High resolution, not blurry or pixelated. High resolution ensures clarity and detail in the photo.
- Age of Photo: Taken within the last six months. Current photos accurately reflect the child's appearance.
- No shadows: Lighting must be uniform with no shadows on the face or background. Uniform lighting ensures all facial features are clearly visible.
It's crucial to ensure these core requirements are met, as even a slight deviation can lead to rejection. Remember, taking the time to get it right saves time in the long run.
Addressing Challenges Specific to Photographing Children
Photographing babies and young children presents unique difficulties. Patience and creativity are your best tools. Here are some common issues and practical solutions:
- Getting Them to Sit Still: Use a highchair or car seat to keep infants stable. For older children, try distracting them with a toy or treat. Safety is paramount, so always supervise.
- Keeping Their Eyes Open: Take multiple shots in quick succession to capture a moment when their eyes are open. Enlist the help of another person to get the child's attention from behind the camera. A favorite toy or a silly face from a helper can work wonders.
- Ensuring a Neutral Expression: This can be tricky! Aim for a relaxed face. Silly faces and big smiles are not allowed. Try taking the photo when they are calm and content. A quiet environment can help.
Remember to be patient and persistent. It may take several attempts to get a suitable photo. Don't get discouraged; even professional photographers face these challenges!
Clothing and Accessories Guidelines for Minors
Clothing and accessories must also adhere to specific guidelines. These rules help ensure the focus remains on the child's identity:
- Head Coverings: Generally prohibited unless worn daily for religious reasons. A signed statement is required explaining the religious requirement. The head covering should not obscure the face. Check out our article on Hats in Passport Photos.
- Eyewear: Glasses are strongly discouraged. If glasses cannot be avoided, ensure there is no glare on the lenses and that the eyes are clearly visible. Consider removing the lenses if possible, or gently adjusting the frames. See more in our guide Passport Photo with Glasses: Your Definitive US Compliance Guide
- Jewelry: Keep jewelry minimal. Avoid large or distracting pieces. Small earrings are generally acceptable, but necklaces should be tucked inside clothing.
For infants, ensure that clothing is plain and does not obscure the face. Avoid busy patterns or large logos. Solid colors work best.
DIY Tips and Tricks for Taking Compliant Photos at Home
Taking passport photos at home can save time and money. With the right approach, you can achieve professional-quality results. Follow these DIY tips for compliant photos:
- Set Up a Suitable Environment: Find a well-lit room with a plain white or off-white wall. A clean, uncluttered space is ideal.
- Utilize Natural Lighting: Position the child facing a window for soft, even lighting. Avoid direct sunlight, which can cause harsh shadows. Diffuse sunlight with a sheer curtain if necessary.
- Employ Creative Techniques: Use toys, treats, or another person to capture your child's attention. Be prepared to act quickly and take lots of photos.
- Editing and Printing: Use a photo editing program to crop and resize the photo to 2x2 inches. Ensure the resolution remains high. Print on matte or glossy photo paper. Most home printers can handle this, or you can use a local photo printing service.
Before submitting, double-check that the photo meets all USCIS specifications. An AI passport photo tool can be your best friend in verifying compliance.
Leveraging AI-Powered Tools for Guaranteed Compliance
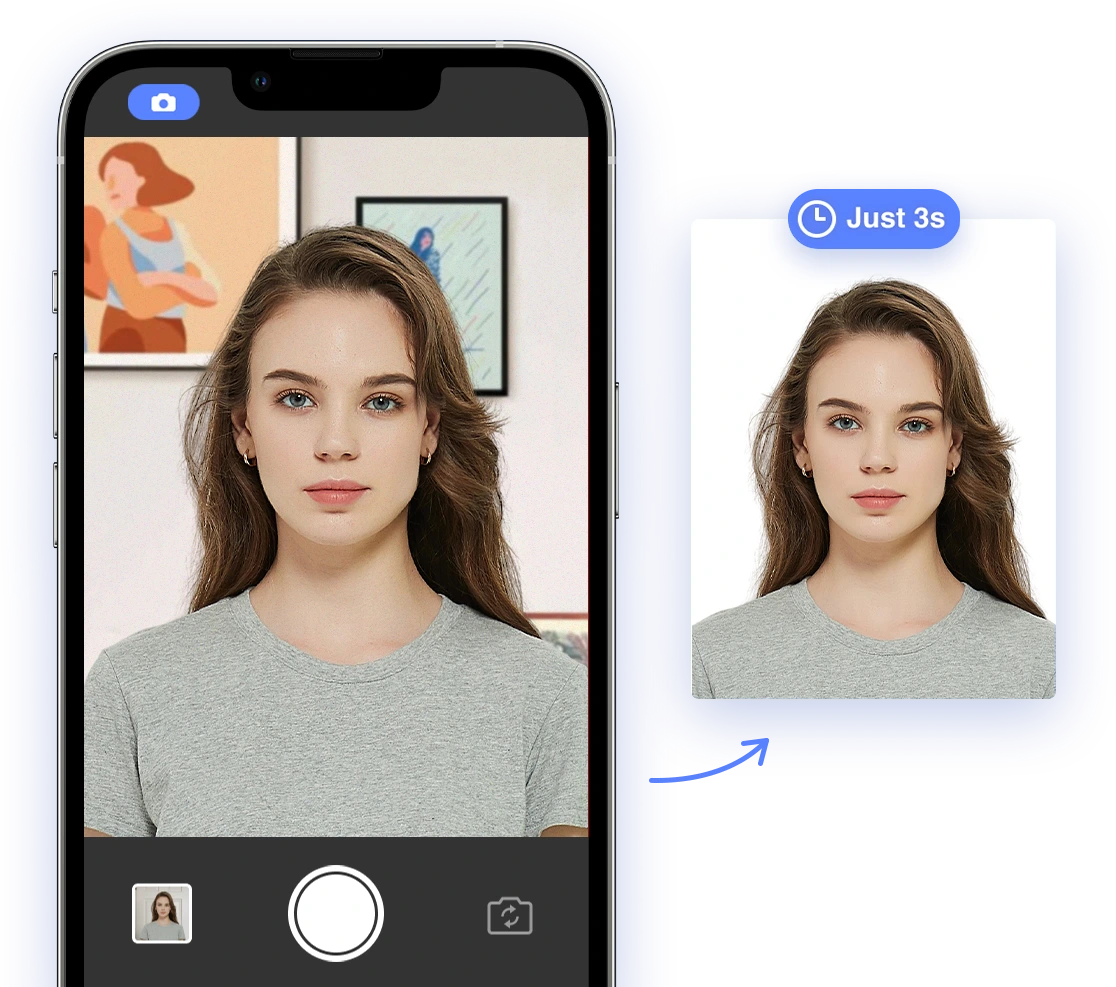
AI Passport Photo can significantly simplify the process by automatically adjusting size, background, and other parameters to ensure compliance with USCIS standards. This minimizes the guesswork and potential for errors. The benefits of using AI include:
- Automatic Background Removal: Ensures a plain white or off-white background, even if your home setup isn't perfect.
- Precise Cropping and Resizing: Guarantees the correct photo dimensions, eliminating manual adjustments.
- Quality Checks: Verifies resolution, lighting, and other key factors, ensuring the photo is of acceptable quality.
AI tools provide an accurate and stress-free way to create compliant photos, minimizing the risk of rejection and saving you valuable time and effort. It's like having a professional photo expert at your fingertips!
Addressing Unique Circumstances and Special Considerations
Some children may have medical conditions, disabilities, or other unique circumstances that make it challenging to meet standard photo requirements. Understanding how to navigate these situations is crucial. Here's how to handle these situations:
- Medical Conditions: If a child has a medical condition that prevents them from meeting specific requirements (e.g., head coverings due to chemotherapy, inability to maintain a neutral expression), provide a signed statement from a medical professional. Clear documentation is key.
- Disabilities: If a child has a disability that affects their ability to pose for the photo (e.g., physical limitations, sensory sensitivities), make reasonable accommodations and document them in a signed statement. Comfort and cooperation are paramount.
It's essential to communicate any special circumstances to the USCIS to ensure they are considered during the application process. Transparency and documentation will help them understand and accommodate your child's needs. The USCIS website provides detailed information and resources.
What to Do If Your Child's Photo Is Rejected
If the USCIS rejects your child's photo, don't panic! This is a common occurrence, and it's easily rectified. Follow these steps:
- Identify the Reason for Rejection: The rejection notice will specify the reason for the rejection. Carefully review the notice and the USCIS photo requirements to pinpoint the issue. Was it the background, size, expression, or something else?
- Make Necessary Adjustments: Retake the photo, addressing the identified problem (e.g., incorrect size, poor lighting, non-compliant background). Pay close attention to the details.
- Resubmit the Photo: Include the rejection notice with the resubmitted photo. This helps the USCIS connect the new photo with the original application.
To prevent future rejections, use the tips and tools outlined in this guide and carefully review the USCIS requirements before submitting. A little extra care can make all the difference. See our guide on passport photo rejections.
Final Thoughts
Obtaining a compliant photo for your minor child's naturalization application doesn't have to be a daunting task. By understanding the USCIS requirements, addressing potential challenges, and utilizing available resources like AI-powered tools, you can ensure a smooth and successful citizenship journey. Remember, a little preparation can go a long way in making the process stress-free and efficient. We hope this guide has provided you with the confidence and knowledge you need to navigate the process successfully. Good luck!
Use AI Passport Photo to create your passport photo for a quick and stress-free experience.