Applying for a passport for your baby or infant can seem daunting, especially when it comes to the photo! This comprehensive guide, updated for 2024-2025, breaks down the specific US passport photo requirements for babies and infants. We'll cover everything you need to know to ensure your little one's photo is accepted, avoiding delays and stress.
Official US Passport Photo Requirements for Babies and Infants
The US Department of State has specific guidelines for passport photos, and these apply to babies and infants as well. Understanding these requirements is the first step to ensuring your child's application is processed without delays. Let's dive into the details:
- Size: The photo must be 2x2 inches (51x51 mm).
- Color: The photo must be in color.
- Background: The background must be plain white or off-white. A solid, light-colored sheet or blanket works well.
- Resolution: The photo should be clear, sharp, and have a good resolution. Aim for at least 300 DPI (dots per inch).
- Face: The baby's face must be fully visible, with eyes open and a neutral expression. This can be tricky, but it's essential. The Department of State clarifies that for infants, some leeway is given regarding the neutral expression.
- Attire: No hats, bonnets, or other head coverings are allowed unless required for religious purposes (and even then, the face must be fully visible). Keep clothing simple and avoid distracting patterns.
- No shadows: Ensure there are no shadows on the baby's face or in the background. Proper lighting is key.
- No other people: Only the baby should be in the photo – no parents' hands or other objects should be visible. If you need to support the baby, use a method that keeps your hands out of the frame (more on this below).
Common Challenges in Photographing Newborns and Young Children
Photographing babies and infants for passport photos presents unique challenges. Many parents feel anxious about this step. Here are some common hurdles and practical advice on how to overcome them:
- Head Support: Newborns can't hold their heads up. Solution: Use a car seat covered with a plain white sheet or lay the baby on a white blanket on the floor. Ensure the fabric is smooth and wrinkle-free.
- Eye Focus: Getting a baby to look directly at the camera with their eyes open can be difficult. Solution: Use toys, brightly colored objects, or sounds (like gentle rattles or a familiar voice) to attract their attention. Enlist a helper to stand behind you and make the noises or hold the object.
- Facial Expressions: A neutral expression is required, but babies often smile, cry, or make faces. Solution: Be patient and take multiple shots. Try to capture the photo when the baby is calm and content, perhaps after a feeding or nap. The US Department of State acknowledges that a strict neutral expression isn't always possible for infants.
- Movement: Babies move a lot! Solution: Choose a time when the baby is calm and well-rested. Fast shutter speeds on your camera or phone can also help minimize blur. Consider swaddling the baby to limit movement.
Step-by-Step Guide: Taking a Compliant Passport Photo at Home
Taking a passport photo at home can save time and money, and it can be more comfortable for your baby. Follow these steps for the best results:
- Set up the environment: Find a well-lit room with a plain white or off-white wall or a neutral background. Use natural light if possible, but avoid direct sunlight, which can create harsh shadows. Diffused light is best. If natural light isn't available, use soft, indirect artificial lighting.
- Position your baby:
- Laying down: Place a plain white or off-white sheet or blanket on the floor and lay the baby on their back. Make sure the sheet is smooth and wrinkle-free. Stand directly above the baby to take the photo, ensuring your shadow doesn't fall on the baby.
- In a car seat: Cover the car seat completely with a plain white or off-white sheet or blanket. Make sure the baby is sitting upright and their face is fully visible. Secure the car seat to prevent movement.
- Capture the perfect shot:
- Use toys or sounds to get the baby's attention and encourage them to look towards the camera.
- Take several photos in quick succession to increase your chances of getting a good one with open eyes and a relatively neutral expression.
- Ensure the baby's eyes are open (as much as possible) and their face is fully visible, without hair obscuring their features.
- Check for shadows and adjust the lighting or baby's position if needed. Make sure the background remains plain and unobstructed.
If you are a single parent, you may be wondering what steps you need to take to obtain a passport for your child. Tips for Applying for Your Child's Passport: A Comprehensive Guide will help guide you.
Clothing and Accessories: What Babies and Infants Can and Cannot Wear
The rules regarding clothing and accessories are quite specific. Here's what to keep in mind to avoid rejection:
- Do: Dress the baby in plain, everyday clothes. Solid colors are best.
- Don't: Use hats, bonnets, headbands, or other head coverings (unless required for religious reasons, with a signed statement). Ensure the face remains fully visible.
- Don't: Use clothing with busy patterns, logos, or distracting designs. These can draw attention away from the baby's face.
- Bibs: It is best to avoid bibs if possible, as they can obscure clothing. If a bib is necessary, ensure that it is plain white and does not cover any part of the baby's face.
DIY vs. Professional Passport Photos
Choosing between taking the photo yourself (DIY) and using a professional service depends on your budget, time constraints, and comfort level. Here's a balanced look at both options:
DIY (Do-It-Yourself):
- Pros:
- Cost-effective: Significantly cheaper than professional services.
- Convenient: Can be done at any time, in the comfort of your own home.
- Flexible: Allows for multiple attempts to get the perfect shot.
- Cons:
- Can be challenging: Requires patience and attention to detail to meet all requirements.
- Time-consuming: May require multiple attempts to get a compliant photo.
- Risk of rejection: If not done carefully, the photo may be rejected due to non-compliance.
Professional Service:
- Pros:
- Ensures compliance: Professionals are familiar with all the requirements and can guarantee compliance.
- Professional quality: Provides a high-quality photo that meets all standards.
- Convenient (in some ways): Saves you the time and effort of taking the photo yourself.
- Cons:
- More expensive: Significantly more expensive than DIY options.
- Less convenient (in some ways): Requires a trip to a photo studio or passport acceptance facility.
- May not be baby-friendly: Some studios may not be equipped to handle babies and infants.
If you choose a professional service, make sure they have experience taking passport photos for babies and infants and that they guarantee compliance with US Department of State requirements.
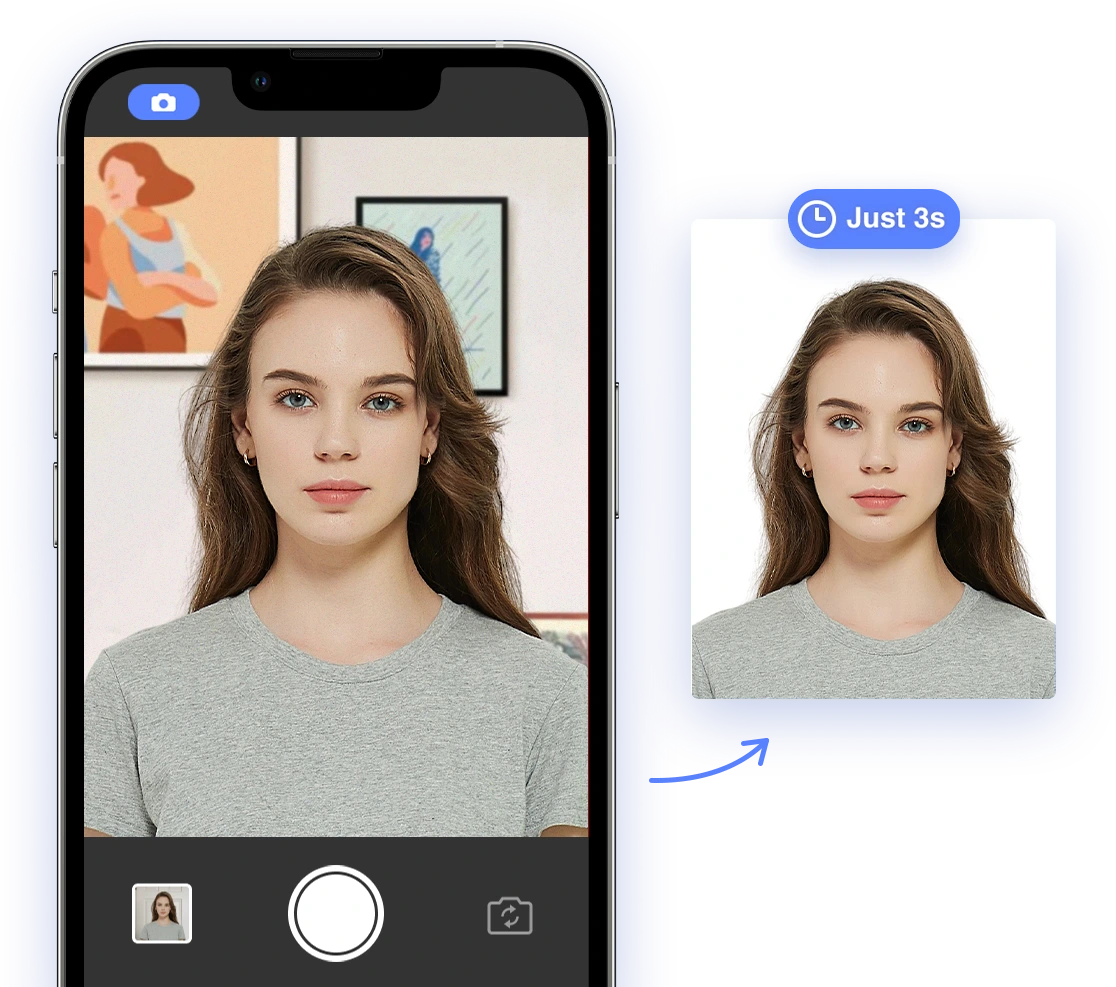
How AI Passport Photo Solutions Can Simplify the Process
AI passport photo tools, like our very own AI Passport Photo, can significantly simplify the process of taking passport photos for babies and infants. These tools leverage artificial intelligence to:
- Check compliance automatically: Instantly verify that the photo meets all official requirements, including size, background, resolution, and facial positioning.
- Remove and replace backgrounds: Automatically remove non-compliant backgrounds and replace them with plain white ones.
- Adjust lighting and color: Correct lighting issues, remove shadows, and adjust colors to ensure the photo is properly illuminated and balanced.
- Ensure correct size and resolution: Guarantee the photo is the correct size (2x2 inches) and resolution (at least 300 DPI) for submission.
Using an AI-powered tool can save you significant time and effort, reduce the risk of rejection, and provide peace of mind knowing that your baby's passport photo meets all the necessary requirements.
Troubleshooting Rejections: What To Do If Your Baby's Passport Photo Is Rejected
If your baby's passport photo is rejected, don't panic! Rejections happen, and it's usually an easy fix. Here's what to do:
- Review the rejection reason: Carefully read the rejection letter or email to understand why the photo was rejected. The rejection notice will provide specific details about the issue.
- Correct the issue: Address the problem identified in the rejection notice and take a new photo. Pay close attention to the requirements outlined in this guide.
- Consider a professional service or AI tool: If you're struggling to meet the requirements or have received multiple rejections, consider using a professional passport photo service or an AI passport photo tool like ours. These options can help ensure compliance and reduce the risk of further rejections.
- Resubmit your application: Include the new, compliant photo with your resubmitted passport application. Make sure to follow all instructions for resubmission carefully.
Common Mistakes to Avoid
To minimize the risk of rejection, be aware of these common mistakes:
- Shadows: Ensure there are no shadows on the baby's face or in the background. Use proper lighting and position the baby carefully.
- Incorrect size: Double-check that the photo is exactly 2x2 inches (51x51 mm).
- Non-white background: Use a plain white or off-white background, free of patterns or textures.
- Head coverings: Avoid hats, bonnets, headbands, and other head coverings (unless required for religious reasons, with a signed statement).
- Obstructed face: Make sure the baby's face is fully visible, with eyes open and no hair obscuring their features.
Examples of Acceptable and Unacceptable Photos
While we can't provide actual image examples here, visualize the following:
Acceptable Photo: A clear, color photo of the baby with a plain white background, eyes open (as much as possible for an infant), a relatively neutral expression, proper lighting, and no shadows.
Unacceptable Photo: A photo with shadows on the face or background, a non-white or patterned background, a hat or head covering obscuring the face, the baby's eyes closed, or the baby's face partially obscured by hair.
Printing and Submission: Ensuring Compliance
Once you have a compliant photo, you'll need to print it and submit it with your passport application. Here are your options and how to ensure compliance:
- Print at home: Use a color printer and high-quality photo paper with a matte or glossy finish. Ensure the photo is printed to the correct size (2x2 inches). Use a ruler to verify the dimensions before submitting.
- Use a printing service: Walgreens, CVS, Walmart, and other photo printing services offer passport photo printing. Make sure they are aware that the photo is for a passport and that it must meet all official requirements.
To save money printing your passport photo directly from your digital file. Print Passport photos on 4x6 inch paper.
Submission
When submitting the photo with your passport application, adhere to these guidelines:
- Do not bend or crease the photo. Handle the photo with care to avoid damage.
- Do not staple or tape the photo to the application. Staples and tape can damage the photo and render it unusable.
- Use a paper clip to attach the photo to the application. Place the paper clip on the back of the photo to avoid damaging the image.
Special Circumstances: Medical Needs or Disabilities
If your baby has medical needs or disabilities that make it difficult to meet the standard requirements, don't hesitate to contact the National Passport Information Center (NPIC) for guidance. They may be able to provide accommodations or alternative solutions. You can find their contact information on the US Department of State website.
- Medical Devices: If a medical device (e.g., a hearing aid) is necessary for the baby, include a signed statement from a doctor explaining the need for the device and confirming that it cannot be temporarily removed for the photo.
- Physical Disabilities: If the baby has a physical disability that makes it difficult to pose for the photo, explain the situation in a signed statement from a doctor. The statement should describe the disability and explain why the baby cannot meet the standard requirements.
By carefully following these guidelines, you can greatly increase the chances that your baby's passport photo will be accepted and that your passport application will be processed smoothly and efficiently. Safe travels to you and your little one!
Ensure your travel plans go smoothly by using AI Passport Photo to simplify your passport photo process. Get started today!