Decoding Rejection Reasons: Understand Why Photos Fail
Passport photos are often rejected for reasons that may seem arbitrary. Understanding these common pitfalls is the first step to a successful application. Let's break down the most frequent causes of rejection:
1. Incorrect Dimensions
The US Department of State requires passport photos to be 2x2 inches (51x51 mm). The height of the head must measure between 1 inch and 1 3/8 inches (25 mm - 35 mm) from the bottom of the chin to the top of the head. Photos that are too large or too small will be rejected.
2. Improper Lighting
Lighting is crucial for a compliant passport photo. Photos that are overexposed (too bright) or underexposed (too dark) will not be accepted. Shadows on the face or background are also a common cause of rejection. Ensure even lighting across your face and a consistent background.
3. Background Inconsistencies
The background must be plain white or off-white and free from any shadows, patterns, or objects. Many DIY photos are rejected because the background is not a consistent, neutral color.
4. Dress Code Violations
While not as strict as some countries, the US has specific dress code requirements. You cannot wear hats or head coverings (unless for religious or medical reasons – see below), sunglasses, or anything that obscures your face. In addition, avoid wearing clothing that blends in with the white background.
5. Poor Image Quality
Blurry, pixelated, or low-resolution photos will be rejected. Ensure your photo is sharp and clear with a resolution of at least 300 DPI (dots per inch).
DIY Troubleshooting Techniques: Fix Common Problems at Home
Taking your own passport photo at home can save time and money, but it requires careful attention to detail. Here are some actionable techniques for resolving common photo problems:
1. Adjusting Lighting
The best lighting is natural, diffused daylight. Position yourself facing a window, but avoid direct sunlight, which can create harsh shadows. If natural light is not available, use two softbox lights or lamps placed on either side of your face to ensure even illumination.
2. Setting Up a Compliant Background
Find a plain white or off-white wall in your home. If a wall is not available, hang a white sheet or poster board behind you, ensuring it is smooth and wrinkle-free. Use tape or clamps to secure the background and eliminate any shadows.
3. Correcting Image Size and Resolution
Use a photo editing tool or an online passport photo service to crop and resize your photo to the exact 2x2 inch dimensions. Ensure the resolution is at least 300 DPI. Many online tools can automatically adjust the size and resolution for you.
4. Ensuring Proper Posing and Facial Expression
Face the camera directly with a neutral expression. Keep your eyes open and mouth closed. Avoid smiling, squinting, or tilting your head. Ensure your entire face is visible and not obscured by hair or shadows.
Advanced Appearance Considerations: Complex Scenarios Explained
Certain appearance-related issues require special attention to ensure compliance. Here's how to manage complex scenarios:
1. Hairstyles
Your hair should not obscure your face. Keep hair away from your eyes and ensure your forehead and ears are visible. Large hairstyles or voluminous hair may be difficult to manage within the frame; try to minimize the volume without compromising your natural look. Learn more about hair requirements for passport photos.
2. Makeup
You can wear makeup in your passport photo, but it should be natural and not alter your appearance significantly. Avoid heavy contouring, dramatic eyeshadow, or brightly colored lipstick. The goal is to enhance your features without making you look different from your everyday self. For more in-depth information, check out our guide on Passport Photo Makeup: Look Your Best & Stay Compliant (2024-2025 Guide).
3. Eyeglasses
As of November 1, 2016, eyeglasses are no longer allowed in US passport photos except in rare cases for medical reasons (with a signed statement from a medical professional). If you must wear glasses, ensure they do not create reflections or shadows and that your eyes are clearly visible. You can also use AI-powered tools for compliance.
4. Head Coverings (Religious/Medical)
Hats and head coverings are generally prohibited, but exceptions are made for religious or medical reasons. If you wear a head covering for religious reasons, provide a signed statement confirming that it is a traditional religious garment worn continuously in public. For medical reasons, provide a signed statement from a medical professional verifying the need for the head covering. The head covering should not obscure your face in any way. See more on rules on head coverings.
5. Facial Piercings and Tattoos
Facial piercings are generally acceptable as long as they do not obscure your facial features. Tattoos are also acceptable, even if they are on your face, as long as they are a permanent part of your appearance. Consider using AI solutions for assessing compliance.
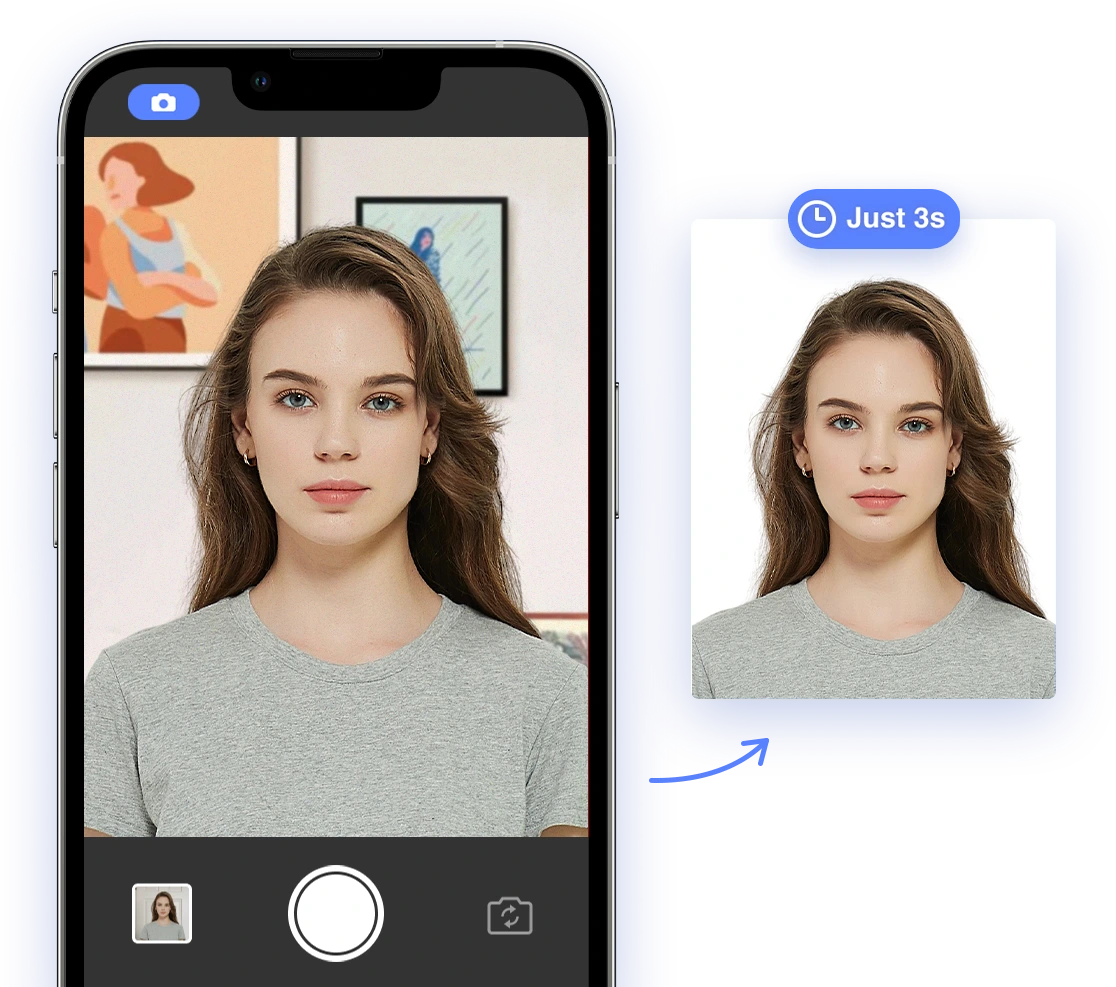
Leveraging AI-Powered Solutions: Automate Compliance
AI passport photo tools can be a lifesaver for ensuring compliance. These tools automatically detect and correct potential issues, such as incorrect dimensions, background inconsistencies, and lighting problems. They use biometric analysis to ensure your face is properly positioned and your expression is neutral. AI Passport Photo is a great tool to ensure your photo meets the requirements.
Comparing AI Passport Photo Tools
Several AI passport photo tools are available online, each with its own strengths and weaknesses. Here are some tips for choosing the right tool:
- Accuracy: Look for tools that guarantee compliance or offer a refund if your photo is rejected.
- User-Friendliness: Choose a tool with an intuitive interface and clear instructions.
- Features: Consider features such as automatic background removal, size correction, and compliance checks.
- Pricing: Compare pricing plans and choose a tool that fits your budget. Consider AI Passport Photo for its high accuracy and user-friendly interface.
Navigating Unique Situations: Specific Applicant Groups
Certain applicant groups may face unique challenges when taking passport photos. Here's how to address these challenges:
1. Babies and Infants
Taking a passport photo of a baby or infant can be particularly challenging. Lay the baby on a white sheet or blanket and take the photo from above. Ensure the baby's eyes are open and their face is not obscured by shadows or objects. You can also hold the baby, but your hands should not be visible in the photo. For additional help, see our article on Ultimate Guide to US Passport Photo Requirements for Babies and Infants (2024-2025). You might find our article about child passport age useful, too.
2. Children
Children may have difficulty sitting still or maintaining a neutral expression. Use patience and encouragement to get the best possible photo. Ensure the child's face is fully visible and their eyes are open.
3. Individuals with Medical Conditions or Disabilities
If you have a medical condition or disability that affects your appearance, provide documentation from a medical professional explaining the condition and any necessary accommodations. Work with the photographer or AI tool to ensure your photo accurately represents your appearance while complying with regulations.
4. Those Undergoing Significant Appearance Changes
If you have undergone significant appearance changes due to surgery, gender transition, or other reasons, you may need to update your passport photo. Consult with the Department of State for guidance on when and how to update your photo.
Printing and Submission Best Practices: Final Steps to Success
Once you have a compliant digital photo, the final steps are printing and submission. Here's how to ensure a smooth process:
1. Printing Passport Photos
You can print passport photos at home using a color printer and photo paper. Ensure the paper is high-quality and the ink is smudge-proof. Alternatively, you can use a commercial printing service, such as Walgreens, CVS, or Walmart. Upload your digital photo to their website or bring it in on a USB drive and select the 4x6 inch print option.
2. Online Submission Procedures
When submitting your passport photo online, follow the instructions provided by the US Department of State. Ensure your photo meets the file size and format requirements. If you encounter upload errors, try resizing the photo or using a different browser.
What to do if Your Photo is Rejected
If your passport photo is rejected, don't panic! The rejection letter will explain the reasons for the rejection. Review the letter carefully and address the issues. You can then resubmit your application with a new photo. If you are unsure how to correct the issues, seek assistance from a professional photographer or passport photo service.
Global Compliance Considerations: International Travel
Passport photo requirements can vary across countries. If you are applying for a visa or other international identification document, research the specific requirements of the country you are visiting. Use an AI passport photo tool that supports multiple countries to ensure compliance.
Key Takeaways
- Understand the common rejection reasons: dimensions, lighting, background, dress code, and image quality.
- Utilize DIY techniques for lighting, background, and image correction.
- Address advanced appearance considerations such as hairstyles, makeup, and head coverings.
- Leverage AI-powered solutions for automated compliance.
- Follow printing and submission best practices.
- Know what to do if your photo is rejected.
By following this comprehensive guide and taking the time to troubleshoot potential issues, you can ensure your passport photo meets all official requirements and your application is approved without delay. Safe travels!