Understanding Common Reasons for Passport Photo Rejection
Passport photos are rejected for a variety of reasons, many of which are easily avoidable. Understanding these common pitfalls is the first step in ensuring your photo meets the necessary standards. Here are some of the most frequent reasons for passport photo rejection:
- Incorrect Size: Passport photos must be precisely 2x2 inches (51x51 mm). Any deviation from this size will result in rejection. To avoid this, see our guide on the correct passport photo size.
- Background Color: The background must be a plain white or off-white. Patterns, textures, or colored backgrounds are not acceptable. Learn more about US passport photo background requirements.
- Poor Lighting: Uneven lighting, shadows on the face or background, and over- or underexposure are common issues.
- Incorrect Pose: Applicants must face the camera directly with a neutral expression. Smiling, frowning, or tilting the head can lead to rejection.
- Inappropriate Attire: Clothing that obscures the face, such as hats or scarves (unless for religious or medical reasons), is not allowed. Check our passport photo dress code guide.
- Accessories: Eyeglasses are generally not permitted, and other accessories like jewelry should be minimal and not obstruct the face. See our article about jewelry in passport photos.
Even minor deviations from these requirements can lead to rejection, so it's essential to pay close attention to detail.
Section 2: A Step-by-Step Guide to Deciphering US Passport Photo Requirements
To ensure your passport photo meets all the necessary criteria, it's important to understand each compliance factor in detail. Here's a step-by-step walkthrough:
- Dimensions: The photo must be 2x2 inches (51x51 mm). The applicant's head must be between 1 inch and 1 3/8 inches (25 mm and 35 mm) from the bottom of the chin to the top of the head.
- Lighting and Shadows: The photo should be evenly lit with no shadows on the face or background. Avoid harsh lighting that can cause overexposure or underexposure. Natural light is best, but avoid direct sunlight.
- Background: The background must be plain white or off-white. It should be free of patterns, textures, and any distracting elements. A clean white wall or a white sheet hung smoothly behind the subject works well.
- Posing: Face the camera directly with a neutral expression. Keep your eyes open and visible, and avoid smiling or frowning. Your mouth should be closed.
- Attire: Wear everyday clothing. Uniforms, clothing that resembles a uniform, and camouflage attire are prohibited. Avoid wearing white shirts, as they can blend into the background. Colors that contrast with the background are best.
- Hairstyle: Your hair should not obscure your face. Ensure that your hairline and ears are visible. Head coverings are only allowed for religious or medical reasons, with a signed statement attesting to this. If you have bangs, make sure they do not cover your eyebrows. For more information, review our hairstyle guide for passport photos.
- Accessories: As a general rule, glasses are no longer allowed in passport photos. If you must wear them for medical reasons, provide a signed statement from a medical professional. Jewelry should be minimal and not obstruct the face. Avoid large earrings or necklaces.
Section 3: DIY Passport Photo: Expert Tips & Tricks for Home Success
Taking a compliant passport photo at home is possible with the right approach and attention to detail. Here are some practical tips and tricks:
- Use Natural Light: Position yourself near a window to take advantage of natural light. Avoid direct sunlight, which can cause harsh shadows. The ideal time is during the early morning or late afternoon.
- Choose a Plain Background: Use a white or off-white wall as your background. Ensure there are no patterns, textures, or distracting elements. If you don't have a white wall, hang a white sheet or use a large piece of white paper.
- Avoid Shadows: Check for shadows on your face and background. Adjust your position or lighting to eliminate them. Consider using a reflector to bounce light and reduce shadows.
- Maintain a Neutral Expression and Posture: Face the camera directly with a neutral expression. Keep your eyes open and visible, and avoid tilting your head. Practice in front of a mirror to find a comfortable, natural pose.
- Use a Smartphone or Digital Camera: Modern smartphones and digital cameras have high-quality cameras that are suitable for taking passport photos. Use a tripod or ask someone to take the photo for you to ensure stability and prevent blurry images.
- Take Multiple Shots: Don't rely on just one photo. Take several shots with slight variations in posing and lighting to increase your chances of getting a perfect photo.
- Review Carefully: Before submitting, carefully review the photo to ensure it meets all requirements. Use a checklist to ensure you haven't missed anything. Another option is to compare passport photos vs. corporate headshots to better understand key differences in terms of requirements.
Section 4: Dress Code Guidance - What to Wear (and What Not To!)
What you wear in your passport photo matters. Here's a breakdown of the dos and don'ts:
- Acceptable Clothing Styles: Wear everyday clothing that is comfortable and does not obscure your face. Avoid clothing with busy patterns or distracting logos. Consult our guide about what to wear for a US passport photo.
- Acceptable Colors: Choose colors that contrast with the white or off-white background. Avoid wearing white shirts, as they can blend in. Darker colors or muted tones generally work best.
- Acceptable Patterns: Simple, non-distracting patterns are generally acceptable. Avoid busy or overly elaborate patterns, as they can draw attention away from your face.
- Jewelry: Keep jewelry to a minimum. Avoid wearing large or reflective pieces that could obstruct your face or create glare. Simple earrings or a small necklace are generally acceptable.
- Headwear: Head coverings are only allowed for religious or medical reasons. If you wear a head covering, provide a signed statement attesting to this. The head covering should not obscure your face or hairline.
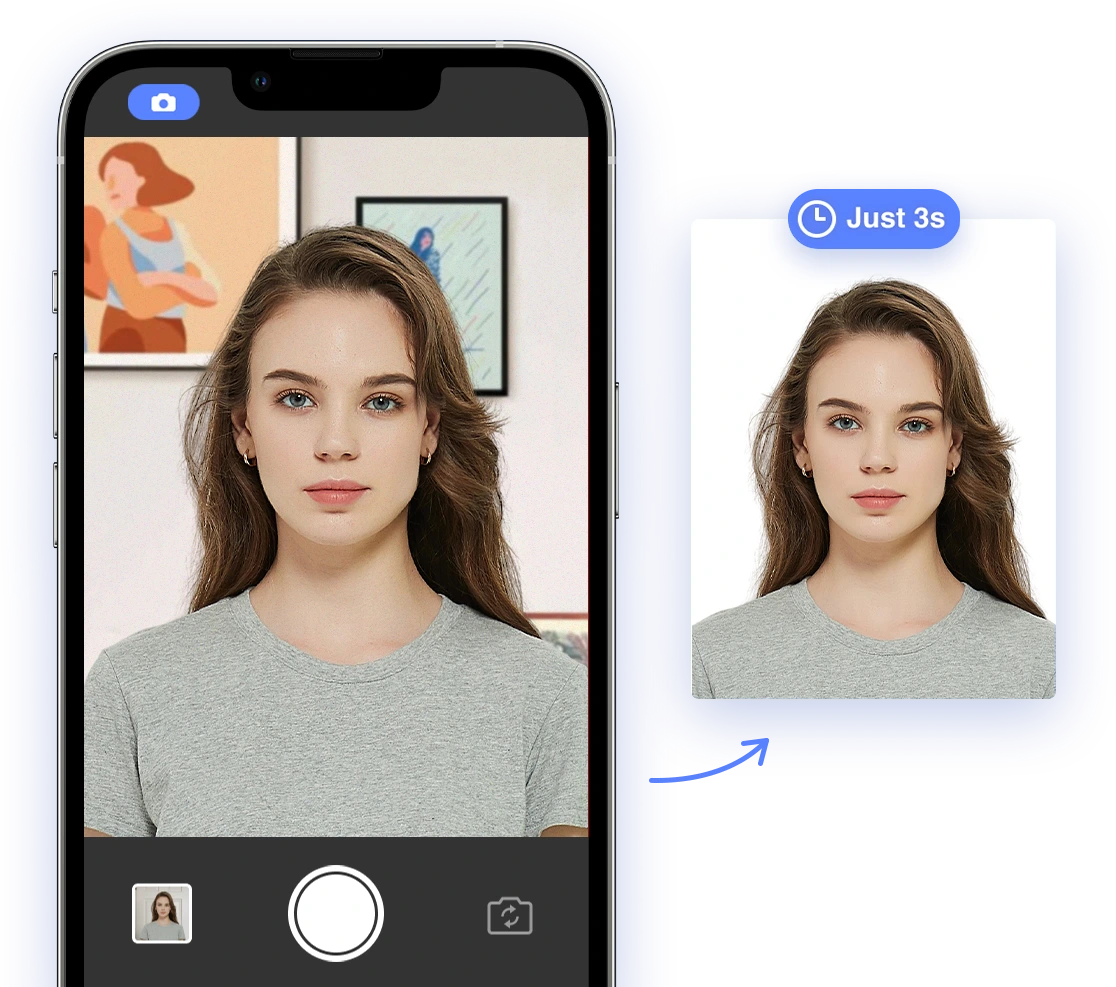
Section 5: Simplifying Compliance with AI Passport Photo Tools
AI-powered passport photo services offer a convenient and reliable way to ensure your photo meets all requirements. These tools use artificial intelligence to automatically:
- Remove Backgrounds: AI can automatically remove and replace backgrounds, ensuring they are plain white or off-white. This eliminates the need to find a perfect background at home.
- Adjust Size: AI can precisely adjust the size of your photo to meet the 2x2 inch requirement and ensure your head is correctly positioned within the frame.
- Check Compliance: AI algorithms can analyze your photo and identify any potential issues, such as incorrect lighting, pose, or attire. This helps you catch errors before submitting your application.
- Enhance Photo Quality: Some AI tools can enhance the overall quality of your photo, improving sharpness and clarity.
Using an AI passport photo tool simplifies the photo-taking process and reduces the risk of errors, providing peace of mind that your photo will be accepted. AI Passport Photo is a reliable solution for achieving guaranteed compliance. With a stellar 4.6 rating on Trustpilot, this app allows you to easily capture digital photos with your smartphone. It also provides instant feedback and ensures your photo meets all the official guidelines.
Section 6: Easy Step-by-Step Guide to Taking Your Passport Photo
- Prepare: Wear appropriate clothing, find a plain white or off-white background, and ensure good lighting. Review the US Department of State's requirements beforehand.
- Take the Photo: Use a smartphone or camera to take the photo. Have someone else take it or use a tripod to avoid blurriness. Take multiple photos with slight variations in posing and expression.
- Check the Photo: Review the photos to ensure it meets all requirements. Check for proper size, background, lighting, pose, and attire. Discard any photos that don't meet the criteria.
- Use AI Tool (Optional): Use an AI passport photo tool like AI Passport Photo to automatically adjust and check your photo for compliance. This step can greatly reduce the risk of rejection.
- Print or Submit: Print the photo or submit it electronically, depending on the application requirements. If printing, use high-quality photo paper and ensure the dimensions are correct. Many drug stores like Walgreens or CVS also offer this printing service. You can also print your passport photo at Walgreens for 38 cents.
Conclusion
Ensuring passport photo compliance is essential for a smooth and stress-free application process. By understanding the requirements, following DIY tips, and leveraging the power of AI tools, you can take a perfect passport photo and avoid rejection. Visit the AI Passport Photo website or download the app today to get started and ensure your photo is guaranteed to be accepted! With the right preparation and tools, the process can be straightforward and efficient. Remember, a little effort upfront can save you significant time and stress down the road!
Additional Resources
- US Department of State - Passports
- AI Passport Photo - AI Passport Photo