Why Passport Photos Get Rejected
Passport photos are rejected for a variety of reasons, most of which are related to non-compliance with the stringent guidelines set by the U.S. Department of State. Knowing these common pitfalls can help you avoid them.
Common Reasons for Rejection
- Incorrect Size and Dimensions: U.S. passport photos must be 2x2 inches (51x51 mm) with the head centered and sized correctly.
- Poor Image Quality: Photos that are blurry, pixelated, or have poor resolution are often rejected.
- Improper Lighting: Overexposed or underexposed photos, as well as those with shadows or glare, are unacceptable.
- Wrong Background: The background must be plain white or off-white, free from patterns or objects. See "Decoding the US Passport Photo Background" for more info.
- Non-Compliant Attire: Wearing eyeglasses (unless medically necessary), hats, or certain types of clothing can lead to rejection. Refer to our guide on "Passport Photo Dress Code".
- Unnatural Expressions: Smiling too broadly or making other unnatural facial expressions is not allowed.
- Digital Alterations: Retouching, filters, or other digital alterations are prohibited.
Understanding the Official US Passport Photo Requirements
To ensure your passport photo is accepted, it’s essential to understand the official requirements set by the U.S. Department of State. These guidelines cover various aspects, from photo dimensions to attire and expression.
Size and Dimensions
The correct size and dimensions are fundamental. The photo must be:
- 2x2 inches (51x51 mm).
- Head must be centered and sized so that the head height (measured from the bottom of the chin to the top of the head, including hair) is between 1 inch and 1 3/8 inches (25 mm and 35 mm).
- Eye height (measured from the bottom of the photo to the level of the eyes) should be between 1 1/8 inches and 1 3/8 inches (28 mm and 35 mm).
Background
- The background must be plain white or off-white.
- It should be uniform and free from shadows, patterns, or any other distractions.
Attire and Accessories
- Clothing: Wear regular street clothes. Uniforms or clothing that resembles a uniform are not allowed. Check our "Looking Your Best for Your U.S. Passport Photo What to Wear" guide.
- Eyeglasses: As of November 1, 2016, eyeglasses are generally not allowed in passport photos. If you must wear them for medical reasons, you need to provide a signed statement from a doctor. See "Passport Photos & Medical Conditions: A Complete Compliance Guide [2024]" for details.
- Hats and Head Coverings: Hats and head coverings are not allowed unless worn daily for religious purposes. A signed statement is required in such cases, attesting to the religious requirement. Refer to "Hats in Passport Photos: US Rules, Religious & Medical Exemptions, AI Solutions [2024-2025]" for more information.
- Jewelry: Small, everyday jewelry items are generally acceptable, provided they do not obscure your face. Check "Passport Photo with Jewelry: What's Allowed & How to Avoid Rejection [2024-2025]".
Facial Expression and Pose
- Expression: You must have a neutral facial expression or a natural smile, with both eyes open.
- Pose: Face the camera directly with your full face in view.
Image Quality
- The photo must be clear, sharp, and in focus.
- It should accurately represent your skin tone.
- Avoid shadows and glare, ensuring even lighting across the face.
DIY Tips for Taking a Compliant Passport Photo at Home
Taking your passport photo at home can be a convenient and cost-effective option. However, it requires careful attention to detail to ensure compliance with official requirements. See "How to Take Passport Photo at Your Home: Do It Yourself".
Setting Up Your Photo Area
- Lighting: Use natural light whenever possible. Position yourself facing a window, but avoid direct sunlight, which can cause harsh shadows. Diffuse the light with a sheer curtain if needed.
- Background: Use a plain white or off-white wall or hang a white sheet or poster board behind you. Ensure the background is smooth and wrinkle-free.
- Camera: Use a high-resolution camera or smartphone. Ensure the lens is clean and free from smudges.
Taking the Photo
- Posing: Stand or sit straight, facing the camera directly. Keep your shoulders relaxed and avoid tilting your head.
- Expression: Maintain a neutral expression or a natural smile. Avoid squinting or raising your eyebrows.
- Distance: Have someone else take the photo, standing about 4-6 feet away to avoid distortion. Use a tripod if taking the photo yourself.
Editing and Printing
- Editing: Avoid using filters or retouching tools that alter your appearance. Minor adjustments to brightness and contrast are acceptable if needed.
- Printing: Print the photo on high-quality photo paper with a matte or glossy finish. Ensure the dimensions are exactly 2x2 inches. Use a ruler to trim the photo accurately.
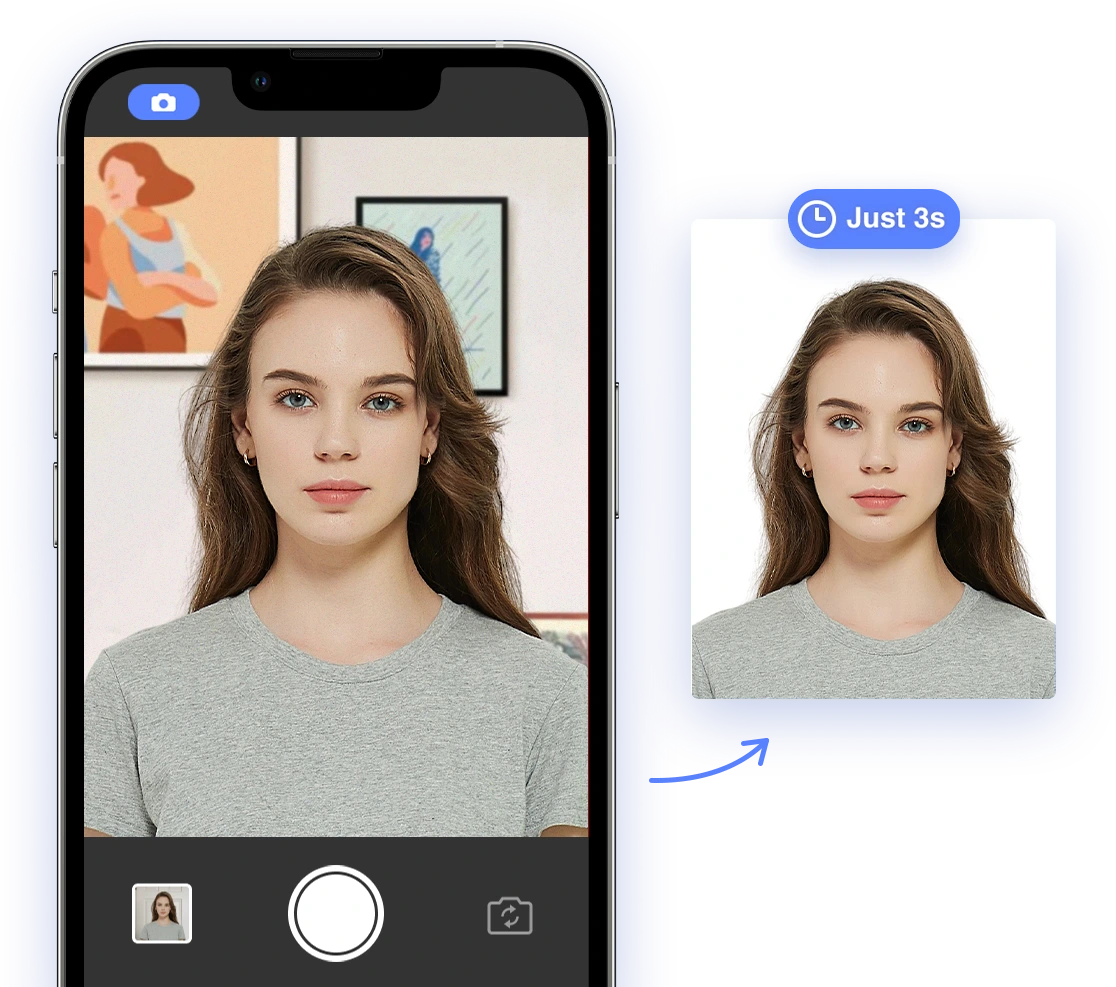
How AI Tools Can Simplify the Passport Photo Process
AI-powered tools have revolutionized the passport photo process, making it easier than ever to create compliant photos from the comfort of your home. These tools use advanced algorithms to analyze your photo and ensure it meets all official requirements.
Benefits of Using AI Tools
- Automated Compliance Checks: AI tools automatically check your photo for correct size, background, lighting, facial positioning, and other critical parameters.
- Automatic Background Removal and Replacement: Many tools can automatically remove and replace backgrounds to ensure they meet the plain white requirement.
- Real-Time Feedback: Get instant feedback on your photo, allowing you to make adjustments and retake it until it meets all criteria.
- Cost-Effective: AI passport photo services are often more affordable and convenient than professional photo studios.
- Accessibility: Available 24/7, allowing you to create compliant photos at your convenience.
Popular AI Passport Photo Tools
- AI Passport Photo: Our AI-driven app ensures your photos meet all official requirements, providing a seamless and stress-free experience. It offers features like background removal, size adjustment, and compliance checks, all in one user-friendly interface. Try AI Passport Photo Now
Optimizing Your Photo with AI
- Upload: Upload your photo to the AI tool.
- Review: Review the AI’s feedback and make any necessary adjustments.
- Adjust: Adjust your pose, expression, or lighting based on the tool’s recommendations.
- Download: Download the compliant photo and print it or submit it online.
Troubleshooting Common Issues with AI Passport Photos
Even with AI tools, you might encounter some common issues. Here’s how to troubleshoot them:
Photo Upload Problems
- File Size: Ensure your photo meets the tool's file size requirements. Reduce the file size if necessary using online compression tools.
- File Format: Use a supported file format, such as JPEG or PNG. Convert the file if needed.
- Internet Connection: Ensure you have a stable internet connection during the upload process.
Compliance Errors
- Background: If the background is not recognized as plain white, try repositioning yourself or using a different background. Ensure even lighting to avoid shadows.
- Facial Recognition: Ensure your full face is visible and that there are no obstructions, such as hair or shadows. Remove any accessories that might be interfering with facial recognition.
- Dimensions: If the AI indicates incorrect dimensions, double-check your camera settings and ensure the photo is being uploaded at its original size.
Printing Issues
- Dimensions: Double-check the dimensions before printing. Some tools offer templates to ensure accurate sizing. Use a ruler to verify the printed dimensions.
- Paper Quality: Use high-quality photo paper for the best results. Ensure your printer settings are configured for photo printing.
- Printer Settings: Calibrate your printer to ensure accurate color reproduction and avoid banding or other printing artifacts.
What to Do If Your Passport Photo Is Rejected
Even with careful preparation and the use of AI tools, your passport photo might still get rejected. Don’t panic! Here’s what to do:
Review the Rejection Notice
- Carefully read the rejection notice to understand the specific reasons for the rejection. Take note of all issues mentioned.
Correct the Issues
- Address each issue mentioned in the rejection notice. Retake the photo, adjust the lighting, or change your attire as needed. Use the DIY tips and AI tools mentioned earlier in this guide.
Seek Professional Help
- If you’re unsure how to correct the issues, consider seeking help from a professional photo studio or using a different AI passport photo tool. Explain the rejection reasons and ask for their expert assistance.
Consider an Expedited Service
- If time is of the essence, explore expedited passport services that may offer on-site photo services and immediate feedback on compliance.
Ensuring a Smooth Passport Application Process
Getting your passport photo right is a critical step in the application process. By understanding the requirements, following DIY tips, and leveraging AI tools, you can minimize the risk of rejection and ensure a smooth application experience. Stay informed, take your time, and don't hesitate to seek help when needed. With the right preparation, you'll be one step closer to your next adventure. Remember to use AI Passport Photo for guaranteed compliance! Get Started with AI Passport Photo