Planning an international trip often involves a series of tasks, and getting a passport photo is usually one of them. Instead of heading to a professional studio and spending money, why not learn how to take your own passport photo at home? It's easier than you might think, and with the right tips and tricks, you can achieve professional-quality results. This guide will walk you through the process, from setting up your environment to editing your photos for compliance. Ready to get started?
Setting the Stage: Lighting, Background, and Camera Setup
The foundation of a great passport photo lies in proper setup. Let's explore the essential elements:Mastering the Lighting
- Natural Light is Your Friend: Whenever possible, use natural light. Position yourself near a window, ensuring the light is soft and even. Avoid direct sunlight, which can create harsh shadows. A cloudy day is perfect for this!
- Avoid Shadows: Ensure your face is evenly lit, minimizing shadows. If natural light isn't sufficient, use a soft, diffused artificial light source. Consider using a lamp with a lampshade or a photography softbox.
- No Flash, Please: Refrain from using the camera's flash, as it often causes unflattering glare and red-eye. Flash can also create harsh shadows, which are undesirable.
Choosing the Right Background
- Plain White is Key: The background must be plain white or off-white. A white wall, sheet, or even a large piece of paper can work wonders. Ensure it's smooth and wrinkle-free for a professional look.
- Avoid Patterns and Textures: Make sure the background is free from any patterns, textures, or distracting elements. A busy background can lead to rejection of your passport photo.
- Keep it Simple: The focus should be solely on you, so maintain a clean and uncluttered background. Remove any objects or distractions from the frame.
Optimizing Your Camera Setup
- Use a High-Resolution Camera: A smartphone with a decent camera or a digital camera will do the trick. Ensure the camera is set to a high resolution to capture sufficient detail. Higher resolution allows for better cropping and editing.
- Stable Shooting: Use a tripod or stable surface to keep the camera steady and prevent blurry images. Blurry images are a common cause for rejection.
- Proper Distance: Position the camera at an appropriate distance (typically 4-6 feet) to capture your entire face and upper shoulders. Too close, and your features will be distorted; too far, and the photo will lack detail. Ask someone to take the photo for you if possible, or use a self-timer.
Dress Code Essentials: What to Wear and What to Avoid
Your attire plays a crucial role in creating a compliant and professional-looking passport photo. Here's a quick guide to make the right choices:Acceptable Attire
- Everyday Clothing: Wear your regular, everyday clothes. There's no need to dress up in formal attire. Comfort and neutrality are key.
- Avoid White: Don't wear white or light-colored clothing, as it can blend in with the background and make it difficult to distinguish your outline. Opt for colors that contrast with white.
- Collared Shirts Recommended: While not strictly required, collared shirts or tops can add a touch of formality. They help frame your face and create a more professional appearance.
Accessories to Consider
- Minimal Jewelry: Keep jewelry minimal and non-distracting. Avoid large necklaces, earrings, or facial piercings that could obscure your features. Simple studs or a small necklace are usually acceptable.
- Eyeglasses (Usually Not Allowed): As of November 1, 2016, eyeglasses are generally not allowed in U.S. passport photos. There are very limited exceptions for medical reasons with proper documentation. Check the latest guidelines from the U.S. Department of State.
- Religious Head Coverings: Head coverings are permitted for religious purposes, but they must not obscure your face. The full facial features must be visible. The head covering should be plain and not cast shadows on your face. See Passport Photos & Medical Conditions: A Complete Compliance Guide [2024] for more info.
Posing Like a Pro: Achieving a Natural and Compliant Pose
Posing correctly is essential to ensure your passport photo meets official guidelines and looks its best. Here's how to strike the perfect pose:Head Position and Facial Expression
- Face the Camera Directly: Look straight at the camera with your head level and your face square to the lens. This ensures your features are properly aligned.
- Neutral Expression: Maintain a neutral facial expression. No smiling, frowning, or squinting. A slight, natural smile is sometimes acceptable, but it's best to err on the side of caution. Keep your face relaxed.
- Eyes Open and Visible: Keep your eyes open and clearly visible. Avoid any hair or shadows obscuring your eyes. Make sure your pupils are visible.
Posture and Alignment
- Good Posture: Sit or stand up straight with your shoulders relaxed. Slouching can make you look less alert and can affect the overall composition of the photo.
- Centered Composition: Ensure your face is centered within the frame, with equal space on both sides. This helps maintain a balanced and professional look.
- Avoid Tilting: Do not tilt your head to either side. Tilting can distort your features and make it harder for facial recognition software to analyze the photo.
The Power of Editing: Enhancing Image Quality and Ensuring Compliance
Photo editing tools can help you refine your image and ensure it meets specific requirements. However, it's essential to use them judiciously. Remember, the goal is to enhance the photo, not alter your appearance.Acceptable Edits
- Brightness and Contrast Adjustments: Minor adjustments to brightness and contrast are generally acceptable to improve overall image quality. Make sure the adjustments are subtle and don't wash out your features.
- Color Correction: Correct any color imbalances or tint issues. Ensure the colors in your photo are accurate and natural.
- Cropping and Resizing: Crop the image to the required dimensions (2x2 inches) and resize it if necessary. Use a photo editing tool that allows you to specify the exact dimensions. You can find the passport photo size in the U.S. here.
Edits to Avoid
- Altering Facial Features: Do not alter your facial features in any way. This includes removing blemishes, changing your eye color, or reshaping your nose. Such edits can lead to rejection of your application.
- Adding Makeup or Filters: Avoid adding makeup, filters, or any other enhancements that could misrepresent your appearance. The photo should accurately reflect your current appearance. More on makeup for compliant photos can be found here.
- Background Changes: Do not change or alter the background in any way. The background must be plain white or off-white.
AI-Powered Photo Editors
Consider using AI-powered photo editors, such as AI Passport Photo, to enhance the photo automatically for brightness, contrast, and background. These tools are designed to ensure compliance with official requirements.Troubleshooting Common Issues: Shadows, Reflections, and Red-Eye
Even with careful planning, you might encounter common issues like shadows, reflections, or red-eye. Here's how to address them:Dealing with Shadows
- Adjust Lighting: Modify your lighting setup to minimize shadows on your face. Use a reflector or additional light source to fill in dark areas. Diffuse the light to soften the shadows.
- Change Position: Slightly adjust your position relative to the light source to eliminate shadows. Experiment with different angles to find the optimal position.
Removing Reflections
- Adjust Glasses: If reflections appear on your glasses, try tilting them slightly or removing them altogether (if possible and allowed). Ensure your eyes are clearly visible.
- Reposition Light: Adjust the position of the light source to eliminate reflections on your skin or accessories. Experiment with different angles and distances.
Correcting Red-Eye
- Disable Flash: Avoid using the camera's flash, as it's the primary cause of red-eye. Use natural or diffused artificial light instead.
- Use Red-Eye Reduction Software: If red-eye does occur, use photo editing software with a red-eye reduction tool to correct it. Most photo editing tools have this feature.
AI-Powered Solutions: Streamlining the Process and Guaranteeing Compliance
AI-powered passport photo tools can significantly simplify the process and ensure your photos meet all official requirements. These tools leverage advanced algorithms to analyze your photo and make necessary adjustments.Automated Compliance Checks
- AI-Driven Analysis: These tools use AI to analyze your photo and automatically check for compliance with size, background, lighting, and other requirements. This saves you time and effort.
- Real-Time Feedback: Get instant feedback on any issues and receive guidance on how to correct them. This helps you avoid common mistakes and ensure your photo is compliant. See Top Reasons Your ID Photo Could Be Rejected.
Background Removal and Enhancement
- Automatic Background Removal: AI can automatically remove and replace the background with a plain white one. This ensures your photo meets the background requirements.
- Image Enhancement: Enhance image quality by automatically adjusting brightness, contrast, and color balance. This helps create a professional-looking photo.
Recommendations
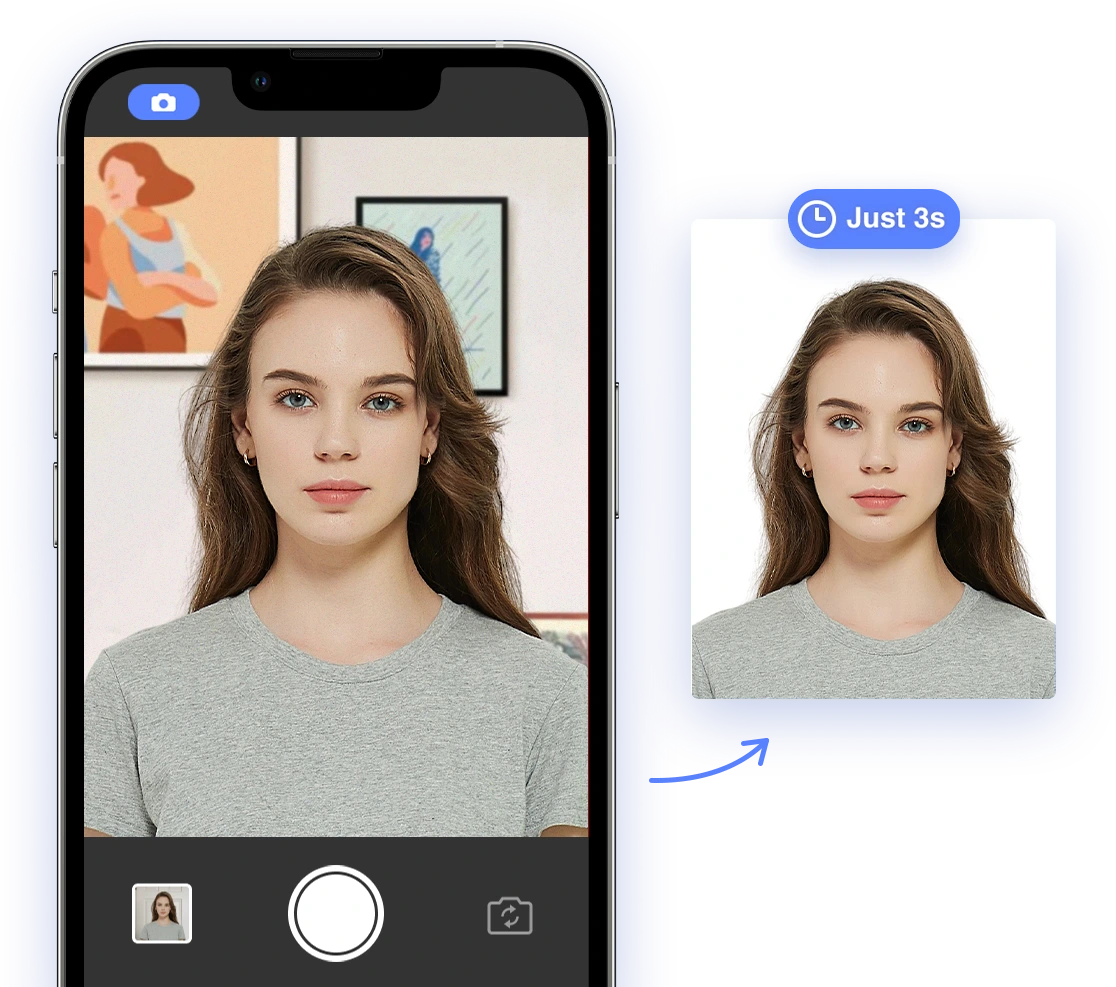
- Consider using AI Passport Photo. This innovative platform helps create compliant and professional ID photos tailored to official requirements from governments and institutions worldwide. With a stellar 4.6 rating on Trustpilot, this app allows you to easily capture digital photos with your smartphone, making the process faster and more convenient than ever before.
Printing and Submission: Completing the Process
Once you're satisfied with your DIY passport photo, it's time to print and submit it with your application. Follow these steps to ensure a successful submission:Printing Your Photo
- Use Photo-Quality Paper: Print your photo on high-quality photo paper for best results. This will give your photo a professional look and feel.
- Print at the Correct Size: Ensure the printed photo is exactly 2x2 inches (51 x 51 mm). Use a ruler to verify the dimensions.
- Print Multiple Copies: Print multiple copies in case you need extras or make mistakes. It's always good to have a backup. See Print Passport photos on 4x6 inch paper
Submission Guidelines
- Check Specific Requirements: Review the specific submission guidelines for your passport application. Requirements may vary depending on the country or region. Refer to the official government website for the latest information.
- Attach Securely: Attach the photo securely to your application form using glue or tape. Ensure the photo is properly aligned and doesn't cover any important information on the form.
- Avoid Staples: Do not use staples, as they can damage the photo and potentially invalidate your application.
By following these DIY passport photo hacks, you can save time and money while ensuring your photo meets all official requirements. With a little effort and creativity, you can capture a perfect passport photo from the comfort of your home! What are you waiting for? Grab your smartphone and start snapping!